Dear Friend's.............
For Prepare Windows XP bootable pen drive download Komku-SP-usb.exe utility. double click on this exe file. now Komku folder is create in drive c:.

goto c drive and click on komku folder. for format flash drive click on PeToUsb folder now click on PeToUSB.exe file. insert flash drive in usb port and select these option which is show on image file.
 after select these option click on start button. click on yes button.


For Prepare Windows XP bootable pen drive download Komku-SP-usb.exe utility. double click on this exe file. now Komku folder is create in drive c:.

goto c drive and click on komku folder. for format flash drive click on PeToUsb folder now click on PeToUSB.exe file. insert flash drive in usb port and select these option which is show on image file.


for format the flash drive click on yes button.
flash drive format successfully message appear on screen.
now go to command prompt.

to transfer bootcode on flash drive. type these command which show on image file.

Now insert Windows XP cd in cd-rom drive and prepare flash drive for windows xp setup.

press any key to continue

select xp setup source path ......

enter choice 1 and select the cd - rom drive. in this article drive d: is our cd-rom drive.

now create temporary drive. please select the option 2 if you are not choose this option it will create drive t: default temporary drive.

select usb drive letter. enter option 3. enter the usb drive letter. in this article drive e: is our flash drive.

to create temporary drive xp image please select option 4

temporary drive created and formatted. After formating the temporary drive , xp setup file copy in temporary drive.

press any key to continue........


now copy xp setup file from temporary drive to flash drive..........


now click on yes button for complete the xp setup files.

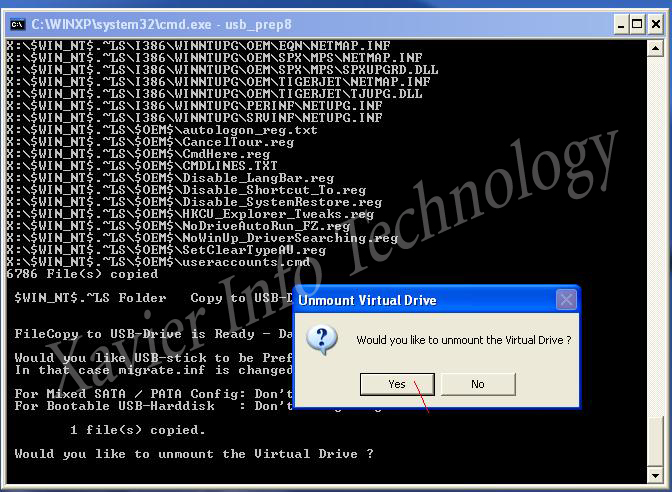
for unmount the virtual drive click on yes button ......
press any key to continue... Enjoy XP Bootable pendrive created.........

now go to bios setup program and select first boot device --- flash drive .

select option first ... now installation process begin.....


after restart the computer please select option 2 for gui mode installation process.........

I hope this article is useful for you..... Enjoy......